- PyQt - Home
- PyQt - Introduction
- PyQt - Environment
- PyQt - Hello World
- PyQt - Major Classes
- PyQt - Using Qt Designer
- PyQt - Meta Objects
- PyQt Signals & Slots
- PyQt - Signals and Slots
- PyQt - Support and Signals
- PyQt - Unbound and Bound Signals
- PyQt - New Signals with PyQtSignal
- PyQt - Connecting, Disconnecting, & Emitting Signals
- PyQt - Slot decorator
- PyQt - Slot Connection
- PyQt Layouts
- PyQt - Layout Management
- PyQt - QBoxLayout
- PyQt - QGridLayout
- PyQt - QFormLayout
- PyQt - QHBoxLayout
- PyQt - QVBoxLayout
- PyQt - QStackedLayout
- PyQt - QGraphicsGridLayout
- PyQt - QGraphicsAnchorLayout
- PyQt - QGraphicsLayout
- PyQt - QGraphicsLinearLayout
- PyQt Basic Widgets
- PyQt - Basic Widgets
- PyQt - Qlabel Widget
- PyQt - QLineEdit Widget
- PyQt - QPushButton Widget
- PyQt - QRadioButton Widget
- PyQt - QCheckBox Widget
- PyQt - QComboBox Widget
- PyQt - QSpinBox Widget
- PyQt - QMessageBox
- PyQt - QDialogButtonBox Widget
- PyQt - QFontComboBox Widget
- PyQt - QDoubleSpinBox Widget
- PyQt - QToolBox Widget
- PyQt - QMenuBar, QMenu & Qaction Widgets
- PyQt - QToolTip
- PyQt - QInputDialog Widget
- PyQt - QFontDialog Widget
- PyQt - QDialog Widget
- PyQt - QFileDialog Widget
- PyQt - QTab Widget
- PyQt - QSplitter Widget
- PyQt - QDock Widget
- PyQt - QStatusBar Widget
- PyQt - QTabBar
- PyQt - QList Widget
- PyQt - QScrollBar Widget
- PyQt - QProgressBar
- PyQt - QCalendar Widget
- PyQt - QMessageBox Widget
- PyQt - QPlainTextEdit
- PyQt - QDateEdit
- PyQt - QDateTimeEdit
- PyQt - QTimeEdit
- PyQt - QTextEdit
- PyQt - QTextBrowser
- PyQt - QScrollArea
- PyQt - Drag and Drop
- PyQt - Multiple Document Interface
- PyQt - QDialog Class
- PyQt Views
- PyQt - QColumnView
- PyQt - QTableView
- PyQt Drawing API
- PyQt - Drawing API
- PyQt - Drawing a Line
- PyQt - Drawing a Rectangle
- PyQt - Drawing a Triangle
- PyQt - Drawing a Circle
- PyQt - Drawing a Ellipse
- PyQt - Drawing a Polygon
- PyQt - Geometric Transformation
- PyQt - Drawing Effect
- PyQt Groups
- PyQt - QButtonGroup
- PyQt - QGroupBox
- PyQt Effects
- PyQt - Effects
- PyQt - Opacity Effect
- PyQt - QGraphicsBlur Effect
- PyQt - QGraphicsColorize Effect
- PyQt - QGraphicsDropShadow Effect
- PyQt Events
- PyQt - Event Handling
- PyQt - Drag & Drop Events
- PyQt - File Open Event
- PyQt - Action Event
- PyQt - Hide Event
- PyQt - Resize Event
- PyQt Database
- PyQt - Database Handling
- PyQt Essentials
- PyQt - BrushStyle Constants
- PyQt - QClipboard
- PyQt - QPixmap Class
- PyQt Useful Resources
- PyQt - Quick Guide
- PyQt - Useful Resources
- PyQt - Discussion
PyQt - Environment
Before diving, into PyQt development it is essential to establish the environment. This chapter will guide you through the process of configuring your environment for PyQt development. It encompasses setting up a development workspace and exploring tools that can enrich your experience with PyQt development.
Setting Up a Development Environment
Although it is possible to develop PyQt using a text editor utilizing an Integrated Development Environment (IDE) can greatly enhance efficiency. IDEs, like PyCharm, Visual Studio Code and Spyder offer features such, as highlighting syntax, autocomplete, debugging tools and project management capabilities that contribute to productivity.
Choose an IDE that suits your preferences and workflow, and ensure that it has support for Python development and PyQt integration. Most popular IDEs offer plugins or extensions for PyQt development, making it easy to get started.
PyQt Versions
As of the latest editions, PyQt is available in two main versions −
- PyQt5 − This version is bulid against Qt5.x. this edition has been widely used and supported by developers for a considerable period. PyQt5 provides a set of Python modules that implement bindings for numerous Qt classes. These modules are organized within the PyQt5 top-level Python package.
- PyQt6 − It is the successor of Pyqt5 and is build against Qt6.x. This version is the latest version which is being used currently. It provides enhancements, optimizations, and compatibility with the latest Qt features. PyQt6 continues to provide the same powerful features and capabilities as its predecessor but is aligned with the newer Qt 6.x framework.
In this tutorial and in discussions referring to PyQt, we will consider PyQt6 as the reference version. Both PyQt5 and PyQt6 are available but the focus is shifting towards PyQt6 due to its alignment with the latest Qt framework and its future-oriented development.
Supporting Environments
PyQt is compatible with all the popular operating systems including Windows, Linux, and Mac OS. It is dual licensed, available under GPL as well as commercial license.
Installation
We can install PyQt on different operating system using the steps given below −
Windows
To get started with PyQt on windows operating system, you'll need to install it using pip −
- Open a command prompt (cmd) with administrative privileges.
- Install PyQt using pip by running the following command −
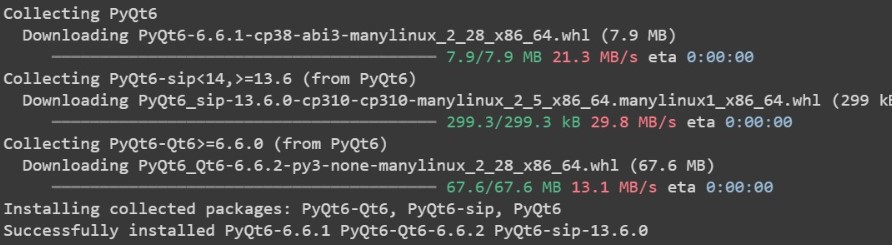
pip install PyQt6
- Optionally, you can install additional PyQt tools and components using pip. For example, PyQt-tools provides additional utilities for PyQt development.
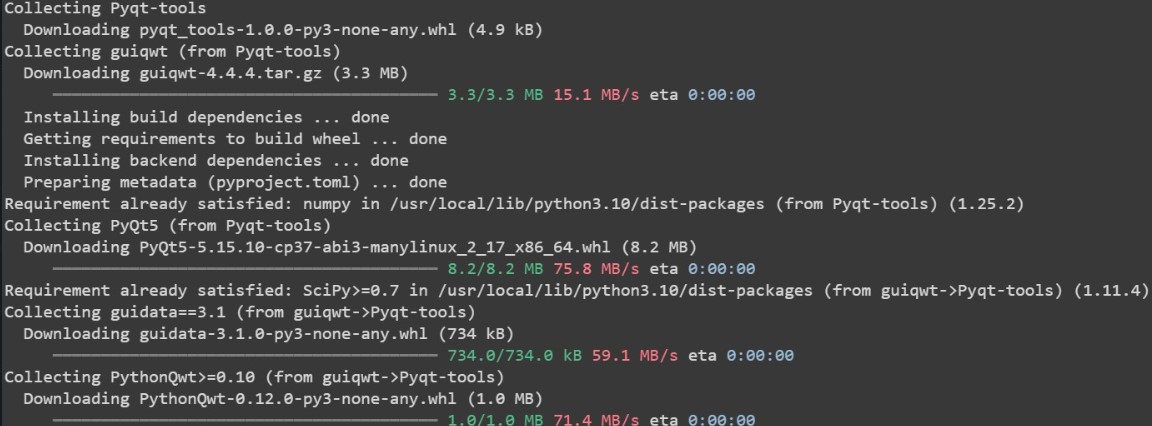
pip install PyQt-tools
Linux
Step 1 − Open a terminal.
Step 2 − Install PyQt using apt package manager
sudo apt-get install python3-pyqt5
Step 3 − Optionally, you can install additional PyQt tools and components using apt −
sudo apt-get install pyqt5-dev-tools
macOs
Step 1 − You can install PyQt on macOS using pip. First, ensure you have Python and pip installed on your system.
Step 2 − Open a terminal.
Step 3 − Install PyQt using pip
pip install PyQt
Step 4 − If you're using macOS, you may also need to install PyQt's SIP dependency. You can install it using pip.
pip install pyqt5-sip
These steps should get PyQt installed on your respective operating system. Once installed, you can start developing PyQt applications. Remember to replace pip with pip3 if you're using Python 3.x.
Qt Designer
Qt Designer is a tool offered by the Qt framework to help developers design UI layouts effortlessly. With its drag and drop interface it streamlines the creation of user interfaces by enabling designers to design layouts without the need, for coding.
The Qt framework installation usually comes with Qt Designer. Once you have installed PyQt you can access Qt Designer either through the command line or your preferred IDE. With Qt Designer you can create UI layouts. Convert them into Python code that can be seamlessly incorporated into your PyQt applications.
Additional Tools and Resources
- PyQt documentation − The official PyQt documentation provides easy to understand guides, tutorials, and API references to help you get started with PyQt development and explore its features in depth.
- PyQt examples − PyQt has a collection of examples which shows various aspects of PyQt development, such as basic widgets, layouts, signals and slots, and custom widgets. These examples can serve as valuable learning resources and reference materials for your own projects.
- PyQt Extension − There are libraries and extensions accessible, for PyQt that expand its capabilities and offer additional tools and features. These helpful additions can simplify development tasks enhance code quality and improve the user experience of your PyQt applications.