- PyQt - Home
- PyQt - Introduction
- PyQt - Environment
- PyQt - Hello World
- PyQt - Major Classes
- PyQt - Using Qt Designer
- PyQt - Meta Objects
- PyQt Signals & Slots
- PyQt - Signals and Slots
- PyQt - Support and Signals
- PyQt - Unbound and Bound Signals
- PyQt - New Signals with PyQtSignal
- PyQt - Connecting, Disconnecting, & Emitting Signals
- PyQt - Slot decorator
- PyQt - Slot Connection
- PyQt Layouts
- PyQt - Layout Management
- PyQt - QBoxLayout
- PyQt - QGridLayout
- PyQt - QFormLayout
- PyQt - QHBoxLayout
- PyQt - QVBoxLayout
- PyQt - QStackedLayout
- PyQt - QGraphicsGridLayout
- PyQt - QGraphicsAnchorLayout
- PyQt - QGraphicsLayout
- PyQt - QGraphicsLinearLayout
- PyQt Basic Widgets
- PyQt - Basic Widgets
- PyQt - Qlabel Widget
- PyQt - QLineEdit Widget
- PyQt - QPushButton Widget
- PyQt - QRadioButton Widget
- PyQt - QCheckBox Widget
- PyQt - QComboBox Widget
- PyQt - QSpinBox Widget
- PyQt - QMessageBox
- PyQt - QDialogButtonBox Widget
- PyQt - QFontComboBox Widget
- PyQt - QDoubleSpinBox Widget
- PyQt - QToolBox Widget
- PyQt - QMenuBar, QMenu & Qaction Widgets
- PyQt - QToolTip
- PyQt - QInputDialog Widget
- PyQt - QFontDialog Widget
- PyQt - QDialog Widget
- PyQt - QFileDialog Widget
- PyQt - QTab Widget
- PyQt - QSplitter Widget
- PyQt - QDock Widget
- PyQt - QStatusBar Widget
- PyQt - QTabBar
- PyQt - QList Widget
- PyQt - QScrollBar Widget
- PyQt - QProgressBar
- PyQt - QCalendar Widget
- PyQt - QMessageBox Widget
- PyQt - QPlainTextEdit
- PyQt - QDateEdit
- PyQt - QDateTimeEdit
- PyQt - QTimeEdit
- PyQt - QTextEdit
- PyQt - QTextBrowser
- PyQt - QScrollArea
- PyQt - Drag and Drop
- PyQt - Multiple Document Interface
- PyQt - QDialog Class
- PyQt Views
- PyQt - QColumnView
- PyQt - QTableView
- PyQt Drawing API
- PyQt - Drawing API
- PyQt - Drawing a Line
- PyQt - Drawing a Rectangle
- PyQt - Drawing a Triangle
- PyQt - Drawing a Circle
- PyQt - Drawing a Ellipse
- PyQt - Drawing a Polygon
- PyQt - Geometric Transformation
- PyQt - Drawing Effect
- PyQt Groups
- PyQt - QButtonGroup
- PyQt - QGroupBox
- PyQt Effects
- PyQt - Effects
- PyQt - Opacity Effect
- PyQt - QGraphicsBlur Effect
- PyQt - QGraphicsColorize Effect
- PyQt - QGraphicsDropShadow Effect
- PyQt Events
- PyQt - Event Handling
- PyQt - Drag & Drop Events
- PyQt - File Open Event
- PyQt - Action Event
- PyQt - Hide Event
- PyQt - Resize Event
- PyQt Database
- PyQt - Database Handling
- PyQt Essentials
- PyQt - BrushStyle Constants
- PyQt - QClipboard
- PyQt - QPixmap Class
- PyQt Useful Resources
- PyQt - Quick Guide
- PyQt - Useful Resources
- PyQt - Discussion
PyQt - QGraphicsBlur Effect
Imagine we are developing a photo editor application using PyQt, and we want to implement a feature of bluring part of selective image. To achieve this, we use the class QGraphicsBlur in PyQt. This effect allows user to insert a blur on specific items in a QGraphicsScene. This class provides a surface management for large number of two-dimensional graphical items. It is used together with QGraphicsView for visualizing graphical items, such as lines, rectangles, text, etc.
The item's location in the scene is determined by its scene position concerning the scene coordinates. In addition, the scene bounding of any item is used by the QGraphicsScene to identify which areas of the scene have been modified.
The common description list of following classes which used to build a blurred layout item −
- QGraphicsEffect − This is base class for all graphical effect.
- QGraphicsBlurEffect − This class can be used to set the blurred effect to an items.
- QGraphicsScene − This class is used for visualizing items.
Following is the common step to perform the task of blur effect in different items −
- Step 1 − Mention the classes from the library of PyQt
- Step 2 − Use the specific method which you want to draw/create on the window such as QVBoxLayout(), QGraphicsRectItem , setGeometry(), etc.
- Step 3 − Set the method QGraphicsBlurEffect() to respective variable.
- Step 4 − Adjust the percentage of blur using setBlurRadius() method.
- Step 5 − Use setGraphicsEffect() to call the method QGraphicsBlurEffect().
- Step 6 − Display the result.
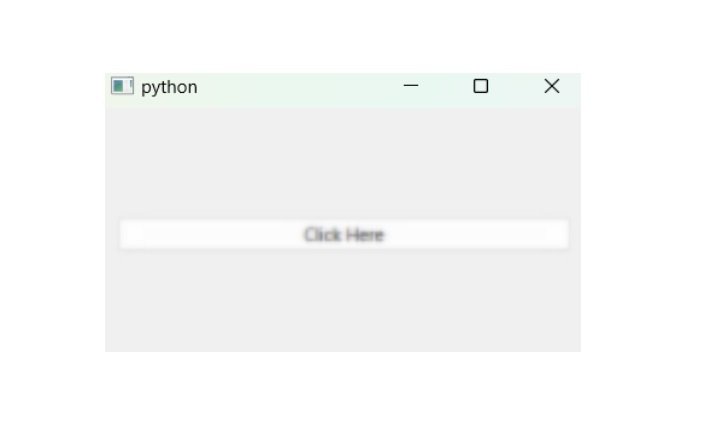
Example 1
In the following example, we create a button to the window using the methods − QVBoxLayout() and QPushButton(). The class QGraphicsBlurEffect itself performs a built-in function to set the blurring effect to a specified item and with the use of setBlurRadius(), the percentage of blur-effect occurred on a clickable button.
from PyQt6.QtWidgets import QGraphicsEffect, QGraphicsBlurEffect, QPushButton,
QApplication, QVBoxLayout, QWidget
import sys
class MainWindow(QWidget):
   def __init__(self):
      super().__init__()

      layout = QVBoxLayout()

      button = QPushButton("Click Here")
      blur_effect = QGraphicsBlurEffect()
      blur_effect.setBlurRadius(3)
      button.setGraphicsEffect(blur_effect)

      layout.addWidget(button)
      self.setLayout(layout)

if __name__ == "__main__":
   app = QApplication(sys.argv)
   window = MainWindow()
   window.show()
   sys.exit(app.exec())
Output
The above code produces the following output −
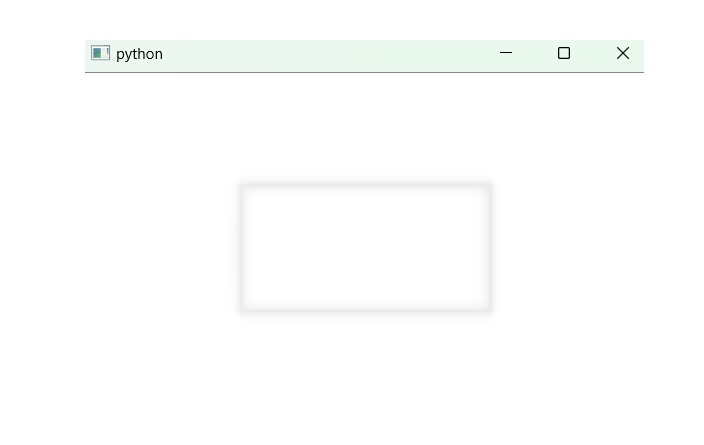
Example 2
In the following example, we draw a rectangle using the class QGraphicsRectItem which uses its function to build the rectangle in a window. Then we apply the blur effect using QGraphicsBlurEffect() and the percentage of blur is measured using setBlurRadius().
import sys
from PyQt6.QtWidgets import QApplication, QGraphicsView, QGraphicsScene,
QGraphicsBlurEffect, QGraphicsRectItem
def main():
   app = QApplication(sys.argv)
   view = QGraphicsView()
   scene = QGraphicsScene()
   view.setScene(scene)

   # Create a rectangle item
   rect_item = QGraphicsRectItem(0, 0, 200, 100)
   scene.addItem(rect_item)

   # Apply blur effect to the rectangle
   blur_effect = QGraphicsBlurEffect()
   # Adjust the blur radius as needed
   blur_effect.setBlurRadius(10)
   rect_item.setGraphicsEffect(blur_effect)

   view.show()
   sys.exit(app.exec())

if __name__ == "__main__":
   main()
Output
The above code produces the following output −
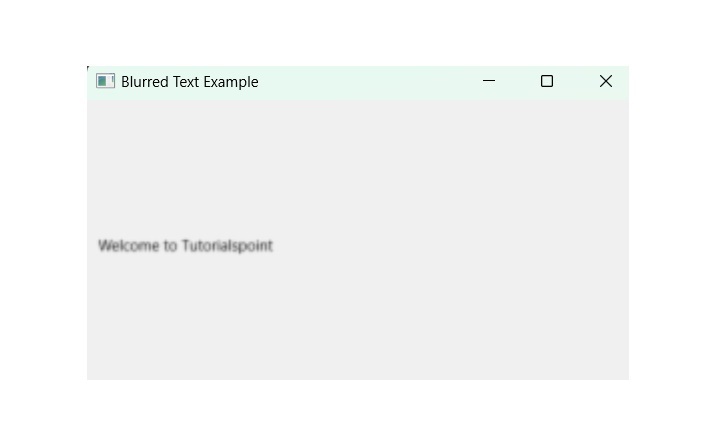
Example 3
In the following example, we use QLabel() to set the dummy text on the window. To make it blur it uses the function QGraphicsBlurEffect(). The blurred text appeared in the center of a window using setCentralWidget() and displayed the result.
import sys
from PyQt6.QtWidgets import QApplication, QMainWindow,
QLabel, QVBoxLayout, QWidget, QGraphicsBlurEffect

class BlurredTextApp(QMainWindow):
   def __init__(self):
      super().__init__()
      self.setWindowTitle("Blurred Text Example")
      self.setGeometry(100, 100, 400, 200)

      central_widget = QWidget()
      layout = QVBoxLayout(central_widget)

      # Create a QLabel with blurred text
      label = QLabel("Welcome to Tutorialspoint")
      blur_effect = QGraphicsBlurEffect()
      # Adjust the blur radius as needed
      blur_effect.setBlurRadius(2)
      label.setGraphicsEffect(blur_effect)

      layout.addWidget(label)
      self.setCentralWidget(central_widget)

if __name__ == "__main__":
   app = QApplication(sys.argv)
   window = BlurredTextApp()
   window.show()
   sys.exit(app.exec())
Output
The above code produces the following output −