- Computer Graphics - Home
- Computer Graphics Basics
- Computer Graphics Applications
- Graphics APIs and Pipelines
- Computer Graphics Maths
- Sets and Mapping
- Solving Quadratic Equations
- Computer Graphics Trigonometry
- Computer Graphics Vectors
- Linear Interpolation
- Computer Graphics Devices
- Cathode Ray Tube
- Raster Scan Display
- Random Scan Device
- Phosphorescence Color CRT
- Flat Panel Displays
- 3D Viewing Devices
- Images Pixels and Geometry
- Color Models
- Line Generation
- Line Generation Algorithm
- DDA Algorithm
- Bresenham's Line Generation Algorithm
- Mid-point Line Generation Algorithm
- Circle Generation
- Circle Generation Algorithm
- Bresenham's Circle Generation Algorithm
- Mid-point Circle Generation Algorithm
- Ellipse Generation Algorithm
- Polygon Filling
- Polygon Filling Algorithm
- Scan Line Algorithm
- Flood Filling Algorithm
- Boundary Fill Algorithm
- 4 and 8 Connected Polygon
- Inside Outside Test
- 2D Transformation
- 2D Transformation
- Transformation Between Coordinate System
- Affine Transformation
- Raster Methods Transformation
- 2D Viewing
- Viewing Pipeline and Reference Frame
- Window Viewport Coordinate Transformation
- Viewing & Clipping
- Point Clipping Algorithm
- Cohen-Sutherland Line Clipping
- Cyrus-Beck Line Clipping Algorithm
- Polygon Clipping Sutherland–Hodgman Algorithm
- Text Clipping
- Clipping Techniques
- Bitmap Graphics
- 3D Viewing Transformation
- 3D Computer Graphics
- Parallel Projection
- Orthographic Projection
- Oblique Projection
- Perspective Projection
- 3D Transformation
- Rotation with Quaternions
- Modelling and Coordinate Systems
- Back-face Culling
- Lighting in 3D Graphics
- Shadowing in 3D Graphics
- 3D Object Representation
- Represnting Polygons
- Computer Graphics Surfaces
- Visible Surface Detection
- 3D Objects Representation
- Computer Graphics Curves
- Computer Graphics Curves
- Types of Curves
- Bezier Curves and Surfaces
- B-Spline Curves and Surfaces
- Data Structures For Graphics
- Triangle Meshes
- Scene Graphs
- Spatial Data Structure
- Binary Space Partitioning
- Tiling Multidimensional Arrays
- Color Theory
- Colorimetry
- Chromatic Adaptation
- Color Appearance
- Antialiasing
- Ray Tracing
- Ray Tracing Algorithm
- Perspective Ray Tracing
- Computing Viewing Rays
- Ray-Object Intersection
- Shading in Ray Tracing
- Transparency and Refraction
- Constructive Solid Geometry
- Texture Mapping
- Texture Values
- Texture Coordinate Function
- Antialiasing Texture Lookups
- Procedural 3D Textures
- Reflection Models
- Real-World Materials
- Implementing Reflection Models
- Specular Reflection Models
- Smooth-Layered Model
- Rough-Layered Model
- Surface Shading
- Diffuse Shading
- Phong Shading
- Artistic Shading
- Computer Animation
- Computer Animation
- Keyframe Animation
- Morphing Animation
- Motion Path Animation
- Deformation Animation
- Character Animation
- Physics-Based Animation
- Procedural Animation Techniques
- Computer Graphics Fractals
Parallel Projection in Computer Graphics
In the last chapter, we presented an overview of projections in 3D graphics. There are multiple such projections available. This chapter is also an overview where we introduce two types of parallel projections. As we know, projections allow us to display 3D objects on 2D screens. Read this chapter to learn parallel projection and its types with examples to understand the concept better.
What is Projection in Computer Graphics?
Projection in computer graphics is the method to map 3D objects onto a 2D display. It uses the world coordinate system to define the viewing volume. Then, it maps these coordinates to the viewport. It uses world to viewport coordinate transformation for 3D.
Types of Projection
There are two main types of projection −
- Parallel Projection
- Perspective Projection
In this chapter, we will cover parallel projection.
1. Parallel Projection
Parallel projection is a specific type of projection in computer graphics. In this method, the projecting lines come out parallel from the object's surface. These lines then hit the projection plane in a parallel manner.

Key Features of Parallel Projection
- The center of projection is at infinity.
- The view of the object on the plane is less realistic.
- There is no foreshortening effect.
- The relative dimensions of the object are preserved.
Types of Parallel Projection
Parallel projection is divided into two main categories:
- Orthographic Projection
- Oblique Projection
Let us look at each of these in more detail.
Orthographic Projection
Orthographic projection is a type of parallel projection. In this method, the projecting lines come out parallel from the object's surface. These lines then hit the projection plane at a right angle (90 degrees).

Types of Orthographic Projection
Orthographic projection is further divided into two categories:
- Multiview Projection
- Axonometric Projection
Multiview Projection
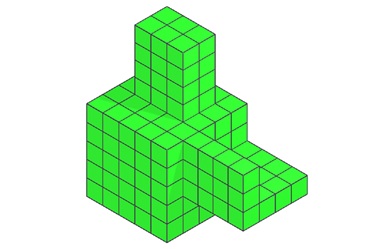
Multiview projection gives us different views of the object. It has three main types:
- Top View − This shows the object as seen from above.
- Side View − This shows the object as seen from the side.
- Front View − This shows the object as seen from the front.
Axonometric Projection
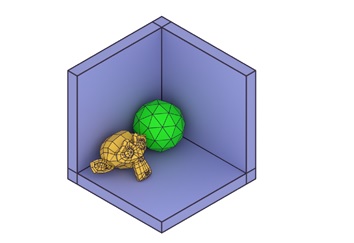
Axonometric projection is a type of orthographic projection. In this method, the projection lines are perpendicular to the projection plane. The object is rotated around one or more of its axes. This rotation allows us to see multiple sides of the object.

Axonometric projection has three subtypes:
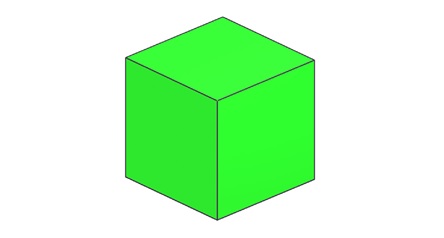
- Isometric Projection − This method shows three-dimensional objects in two dimensions. All three coordinate axes appear equally foreshortened. The angle between any two axes is 120 degrees.
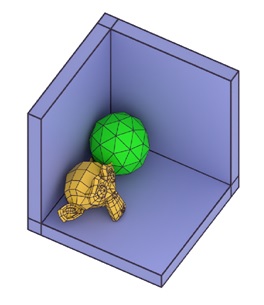
- Dimetric Projection − In this projection, the object appears to have only two equal adjacent sides and angles.
- Trimetric Projection − Here, the object appears to have all adjacent sides and angles unequal.
Oblique Projection
Oblique projection is the second main type of parallel projection. In this method, the projecting lines come out parallel from the object's surface. However, they hit the projection plane at an angle other than 90 degrees.

Types of Oblique Projection
Oblique projection has two main types:
- Cavalier Projection − In this method, the projecting lines hit the plane at a 45-degree angle. The length of the receding axis is longer than in cabinet projection.
- Cabinet Projection − This is similar to cavalier projection. However, the length of the receding axis is half that of cavalier projection. The projecting lines hit the plane at a 63.4-degree angle.
Applications of Parallel Projection
Parallel projection has several uses in computer graphics:
- Technical Drawings − It's often used in engineering and architectural drawings.
- Computer-Aided Design (CAD) − Many CAD software use parallel projection for precise measurements.
- Maps − Some types of maps use parallel projection techniques.
User Interfaces − Some 3D user interfaces use parallel projection for a consistent view.
Advantages of Parallel Projection
- Preserves Measurements − It keeps the relative sizes of objects intact.
- Simplicity − It's easier to implement than perspective projection.
- Accuracy − It's useful for technical drawings where exact measurements are important.
Limitations of Parallel Projection
- Less Realistic − The images don't look as realistic as those created with perspective projection.
- No Depth Perception − It doesn't show depth as well as perspective projection.
Conclusion
In this chapter, we explained the concept of parallel projection in computer graphics. We presented an overview on its two main types: orthographic and oblique projection. We also looked at their subtypes and key features. We discussed the applications, advantages, and limitations of parallel projection.